
Our billing and invoices feature allows you to charge your customers for your product directly through your white label system. All payments are taken securely and efficiently through Stripe, so you can track all your subscriptions from your account and customise how you want to bill your clients to suit your business preferences.
What is Stripe?
Stripe is a business management software designed to help SaaS companies and financial services securely accept and process payments.
To find out more visit their website.

Why Stripe?
Integrating Stripe into your white label systems provides efficiency, customisability and security for all your subscriptions.
You can tailor your plans to suit your business needs, including recurring charges, tiered pricing, promotions and trial periods. It even allows to you to customise the billing frequency, be it monthly or yearly (or both!).
Stripe also enables you to create, customise and send automated invoices quickly and conveniently and will securely accept payments in 135+ currencies, which will be deposited directly into your chosen bank account.
Now you know the why, here’s the how…
#1 – Create a Stripe account
If you’ve already got an active Stripe account, you can ignore this step and move straight to #2!
To set up a Stripe account, all you need to do is go to the register page and fill the form in with your email, name and create a password. There’ll be no fees at this stage, Stripe is completely free to have – you’ll only be charged fees once you start taking payments. For more details, check out the pricing page.
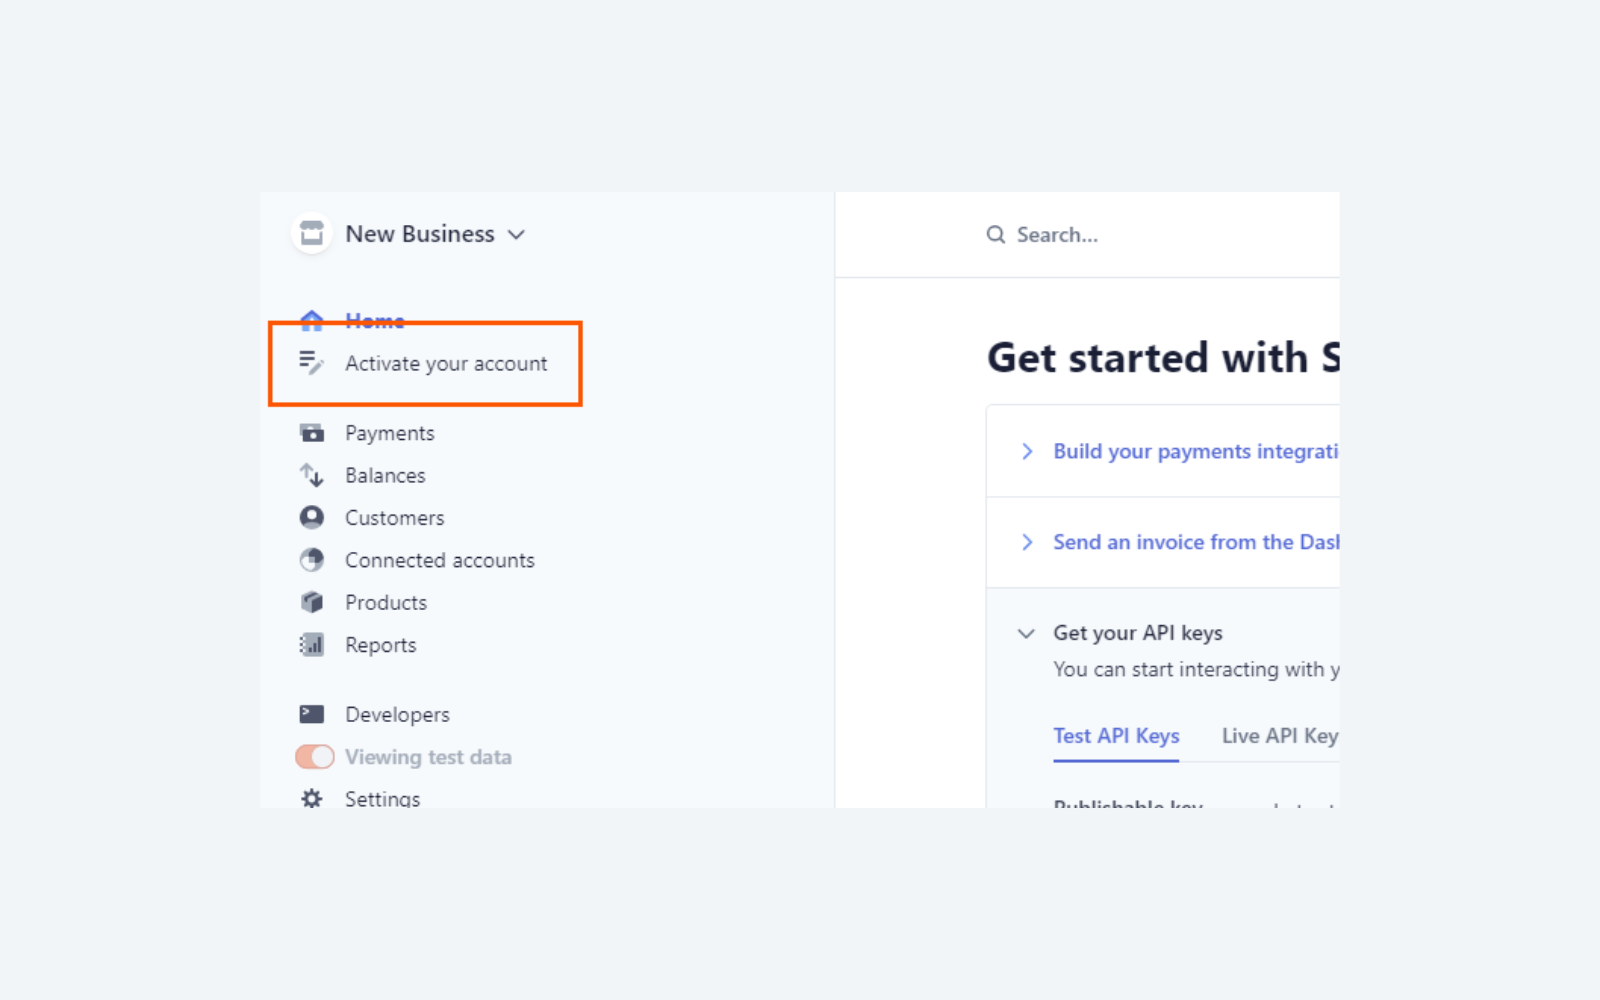
Once you’re signed in, you’ll need to activate your account. Select Activate your account from the left-hand side menu and fill in the forms with your business info.
At this stage, you’ll also be asked to provide statement information. Consider how you want your charges to appear on your customer statements, so that they’re clearly recognisable.
Once you’ve completed all the forms to activate your account, you’ll be all set up and ready to move onto step #2.
#2 – Decide on your pricing plans and billing frequency
Before we connect your Stripe account to your white label system, you’ll need to plan your billing structure and pricing tiers for your end users. Do you want to introduce any free trials or coupons as part of your offering? And are you going to bill in monthly or yearly subscriptions, or provide the option for both?
If you want to provide different subscriptions based on access to certain features or number of team members, think about how you want to differentiate them and what their price points will be.
# 3 – Setup your products in Stripe
We recommend you create your Products in test mode first. This will allow us to test all the subscriptions using dummy credit card details prior to going live.
Now that you’ve decided on your pricing plans and billing frequency, you’ll need to create a product for each. For example if you have decided on three tiers: Bronze, Silver and Gold you will need to create a product for each.
Offering Monthly and Yearly billing options? You will need a separate product for each, e.g. Bronze Monthly and Bronze Annual as two separate products.
To get started, In Stripe head over to Products and choose to Add Product.
For each product, make sure you define the following options:
- Name: The name of your price tier (e.g. “Bronze”, “Standard”, “Starter”)
- Pricing Model: Standard
- Price: Make sure you choose ‘Recurring’
- Billing period: Choose either ‘Monthly’ or ‘Yearly’ (we don’t support other billing frequencies)
Do not change any Additional options and make sure that Usage is metered is not ticked.
Once you have created your Products, click through to each one and note down the API ID mentioned under pricing (we will need this to setup your system).
#4 – Setup your webhooks
To keep your system in sync with Stripe we need to setup webhooks. A webhook is information that is sent from one system to another when an event happens (e.g. you delete a Customer on Stripe).
In your Stripe account, click the Developers navigation item in the left panel, and then choose Webhooks.
Next choose Add Endpoint.
Make sure you set the endpoint the URL to your white label (e.g. https://social.yourdomain.com/api/webhooks/stripe), and then select the following event types:
invoice.payment_action_requiredinvoice.payment_succeededcustomer.deletedcustomer.updatedcustomer.subscription.updatedcustomer.subscription.deleted

Press Add Endpoint, and you’re done!
#5 – Get in touch a member of our team
Get in touch with us via our contact page or send us an email directly to support@cosend.com with the details of all the products you’ve created and their Price API IDs. We will use this information to connect your system to Stripe.
It’s as simple as that!